In the previous parts of this series I showed you the basic configurations of the new Access Gateway Enterprise Edition VPX (AGEE VPX) based upon the NetScaler code.
In the first part I explained the initial network configuration, the installation of the license and the automatic Access Gateway Setup Wizard that is run after the licenses are loaded.
In the second part I continued with some configuration checks, as I don’t want to blindly trust that setup wizard.
And now we are ready for the real fun part of the configuration … so let’s continu the saga with the configuration of the required Virtual Servers for our setup and deliver a working implementation for our two-legged design.
As a reminder I’ll show you my network drawing once more:
There are two VIPs mentioned in the drawing, one for the external connection, where our remote users log onto to connect to the published applications and desktops and another VIP for the internal network, which is used for the internal communications with the XenApp and StoreFront servers. Both VIPs are configured almost identical, except for the ip addresses used. And both require a different DNS entry for the same FQDN as both VIPs will be using the same certificate for SSL communications. So one entry on the external DNS service, linking to the external VIP and one entry on the internal DNS service, linking to the internal VIP. I’ll start this post with the setup wizard for the internal VIP, as we already created the external VIP in the previous parts. And we’ll run through all the settings to check for both VIPs afterwards to ensure everything is set up in the right manner.
Creating the internal VIP
We’ll be using the Access Gateway wizard to create the internal VIP
Access Gateway setup wizard
| screendump | explanation |
|---|---|
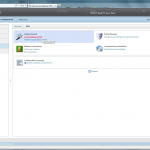
| Select VPN in the menu on the left. Click on Access Gateway wizard in the right pane to start the wizard. |
|
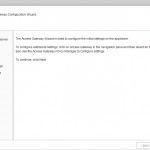
| AG Setup – Introduction Click [Next] |
|
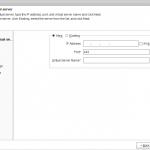
| AG Setup – Create or choose a virtual server Select New and enter the IP-address of the internal VIP and use port 443. Enter a distinctive name for the Virtual Server to quickly identify both the external VIP and the internal VIP. (You can use something like “internal VIP”). Click [Next] |
|
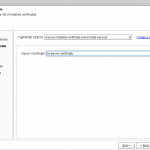
| AG Setup – Specify a server certificate Use the following settings:
Click [Next] |
|
|
|
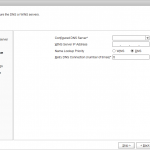
| AG Setup – Configure Name Service Use the following settings:
Click [Next] |
|
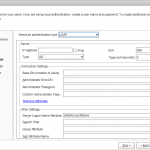
| AG Setup – Configure authentication Use the following settings:
Click [Next] |
|
|
|
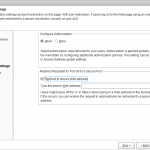
| AG Setup – Configure additional settings Use the following settings:
Click [Next]. |
|
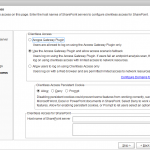
| AG Setup – Configure clientless access Use the following settings:
Click [Next] |
|
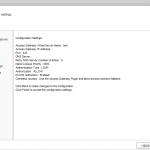
| AG Setup – Summary Check the configured settings and click [Finish] |
|
So after we’ve run the wizard, let’s check those settings one more time for both VIPs to ensure we have configured and linked all settings in the right manner.
Check VPN – Virtual Servers settings
Select VPN in the left menu and click on Virtual Servers after the menu expanded. You’ll see two entries for the virtual servers. Select the external VIP entry and click [Open] to check it’s configuration. The settings that are important are listed in the table below.
| screendump | explanation |
|---|---|
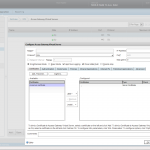
| AG Virtual Server – Certificates Check if the right certificate is configured for the the Virtual Server. Keep in mind that both Virtual Servers need to use the same certificate for authentication purposes. |
|
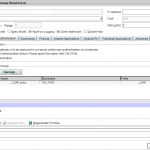
| AG Virtual Server – Authentication Click on the Authentication tab and check whether authentication is enabled and if the right LDAP policy is selected. If not add the right LDAP policy (a LDAP policy is automatically created as part of the AG setup wizard procedure). |
|
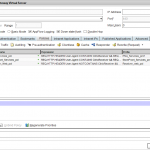
| AG Virtual Server – Policies Select the Policies tab and check if the created Session Policies from part 2 are added to the list with the right priority:
Other policies that may have been binded need to be removed by selecting them and clicking on [Unbind Policy] |
|
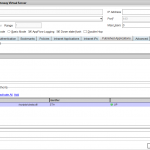
| AG Virtual Server – Published Applications And finally select the Published Applications tab to add the required Secure Ticket Authority (STA) servers to communicate with the Citrix XenApp or XenDesktop infrastructure. |
|
|
|
Make sure you check the same settings for the second Virtual Server as well.
And with these settings you should have yourself a nicely configured Access Gateway Enterprise Edition VPX.
As I’m having alot of fun writing this series, I’ll write up another part to explain my StoreFront configuration and even add another part explaining the steps I took to implement the Citrix theme to the Access Gateway. So more will follow!
This post is part of a serie of multiple posts to fully cover the configuration of the AGEE VPX:
Out with the old, in with … AGEE VPX (part 1)
Out with the old, in with … AGEE VPX (part 2)
Out with the old, in with … AGEE VPX (part 3)
The following sources have been used to create this post:
TheGenerationV: NetScaler 1 or 2 arm mode “which is right for you?”
MSDN – Distinguished Names (Windows)
Tech Blog – Finding your base DN in Active Directory
OasyAdmin – Find an active directory users organizational unit (OU) using Powershell

